The Process
From the Initial Idea to the Finished Print
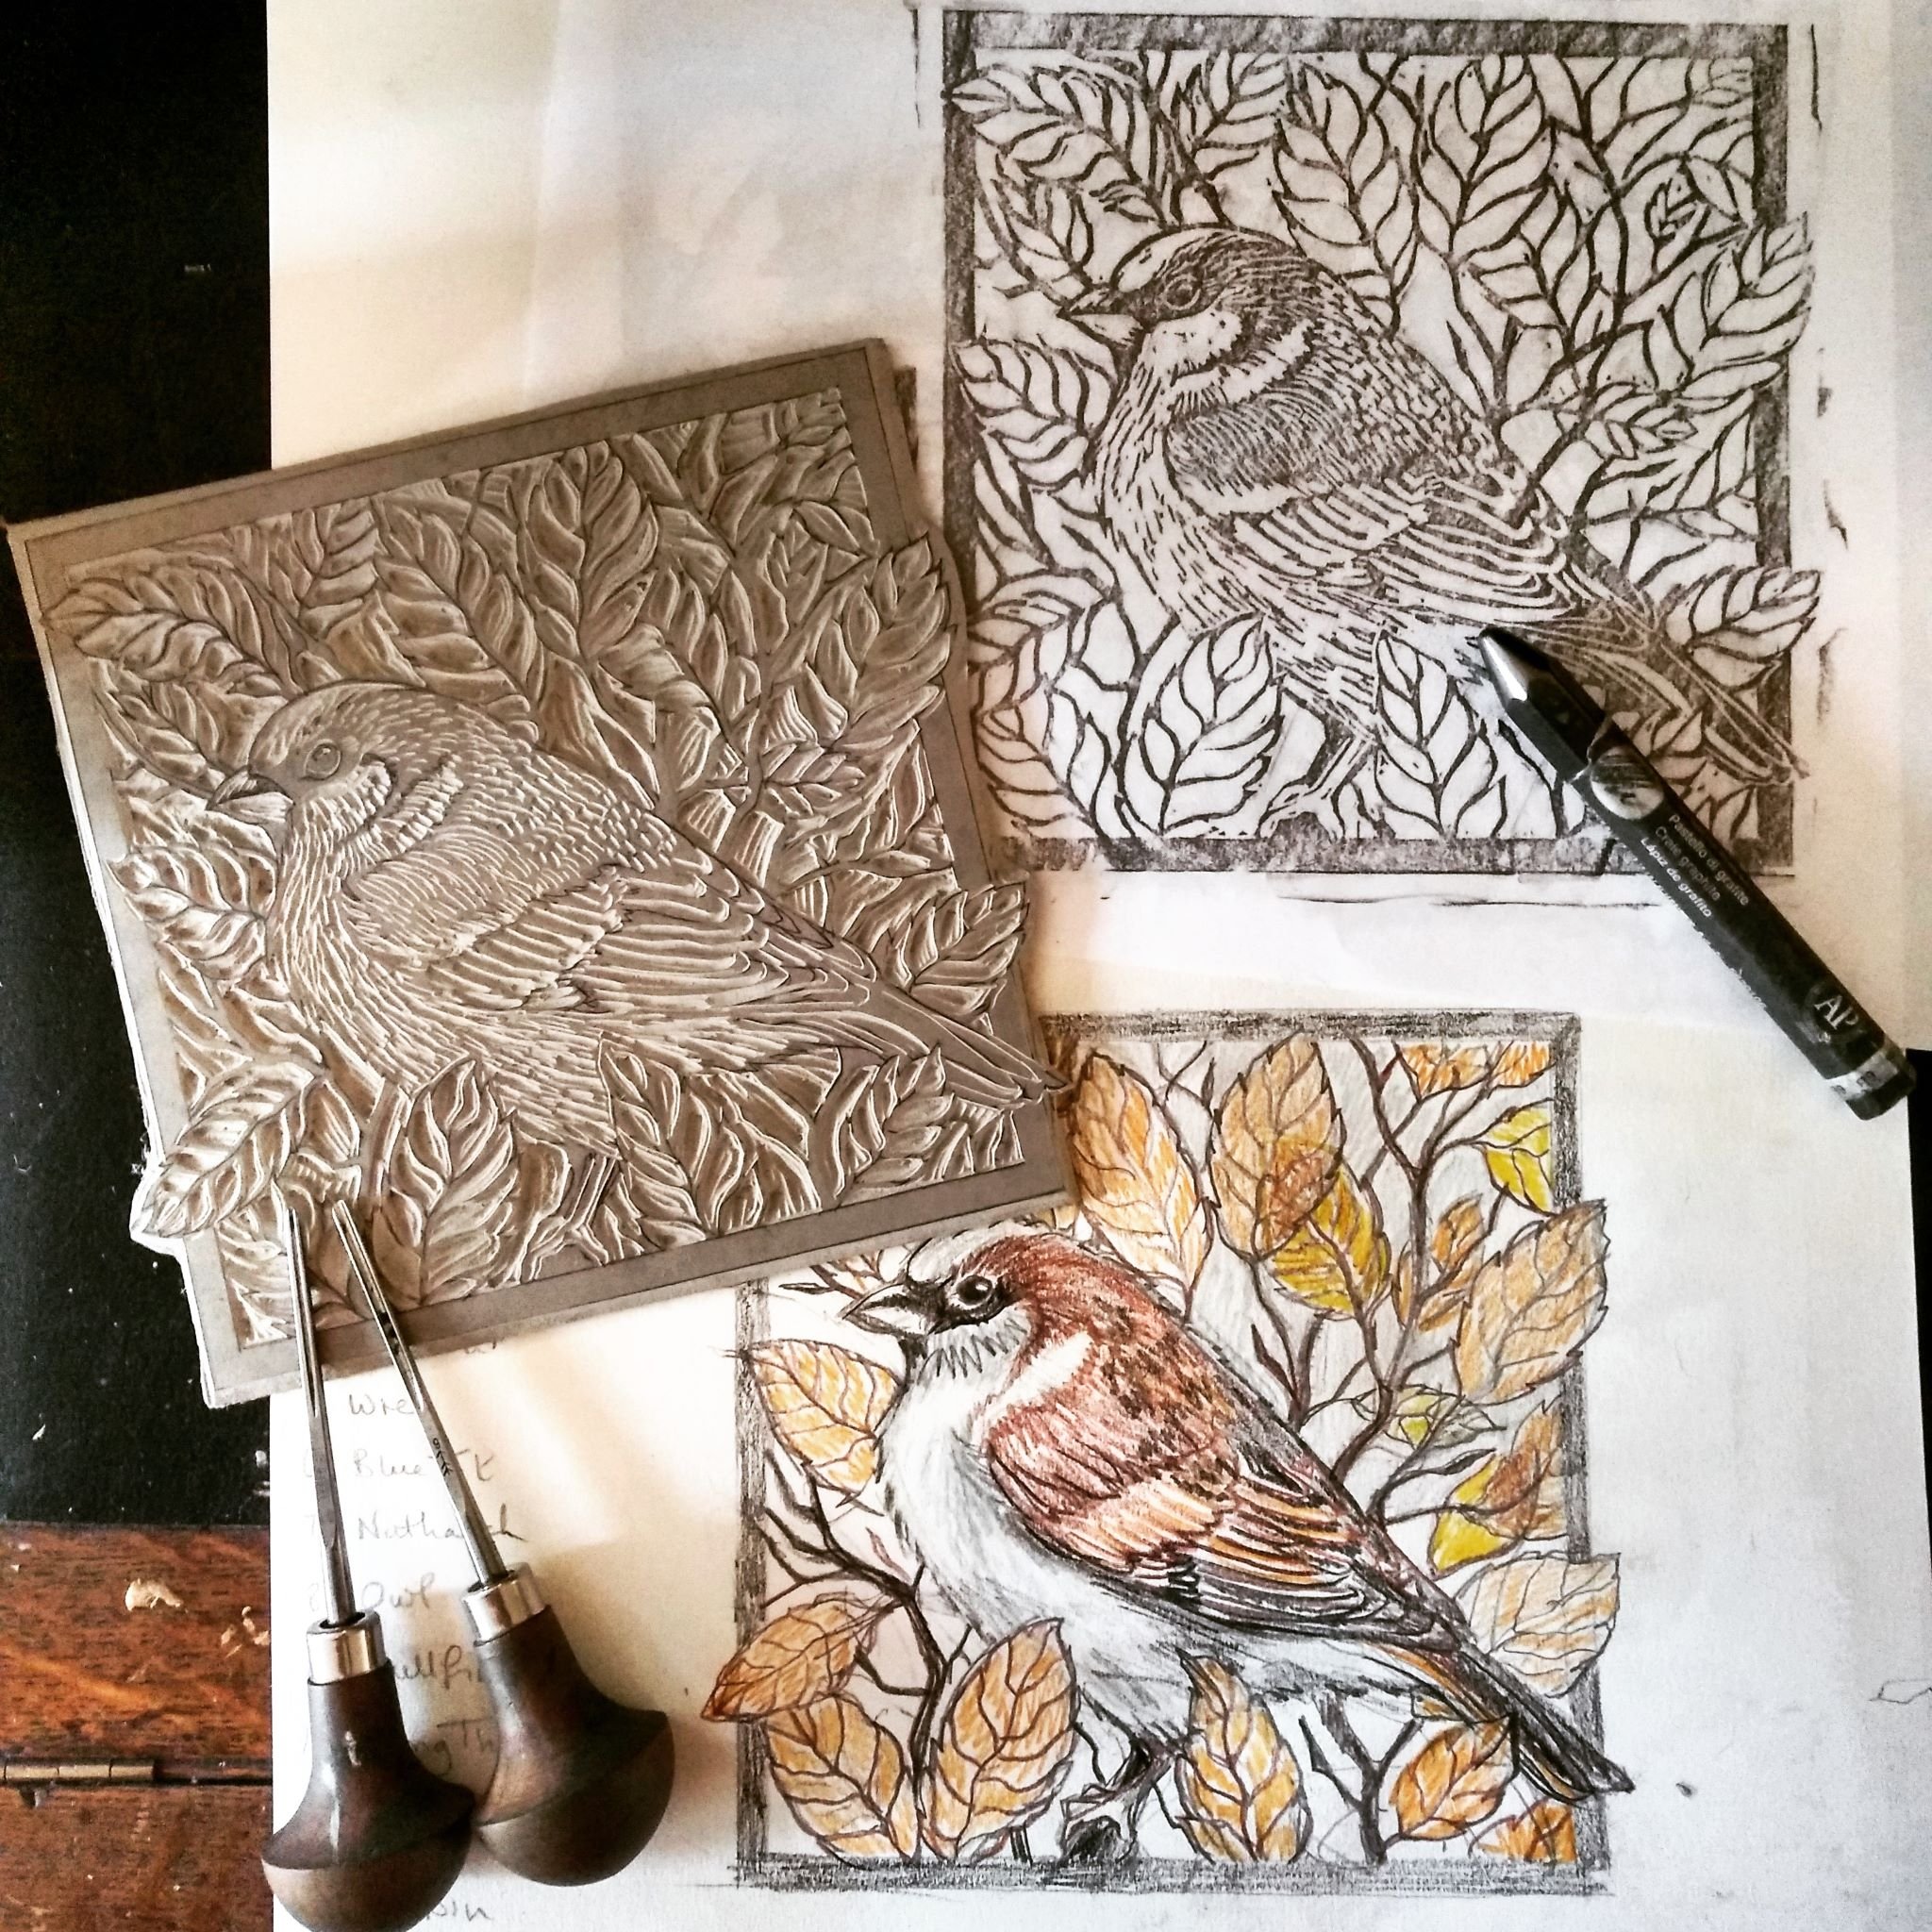
Living on the edge of Dartmoor, on the banks of the river Taw, I am surrounded by the animal life which inspires most of my work. It can be a hare crossing the stubble on a summer evening, or a chance encounter with an otter or badger on the lanes at night, the glimpse of a kingfisher on the river or the stoney eyed sheep that shelter under the Dartmoor Tors. I take photographs, reference other people's photographs and usually include something of an animal's natural environment by collecting leaves, ferns and feathers, seed cases and twigs on my walks.
I then do some initial sketches of my ideas until I arrive at the final drawing.
The Linocut Process
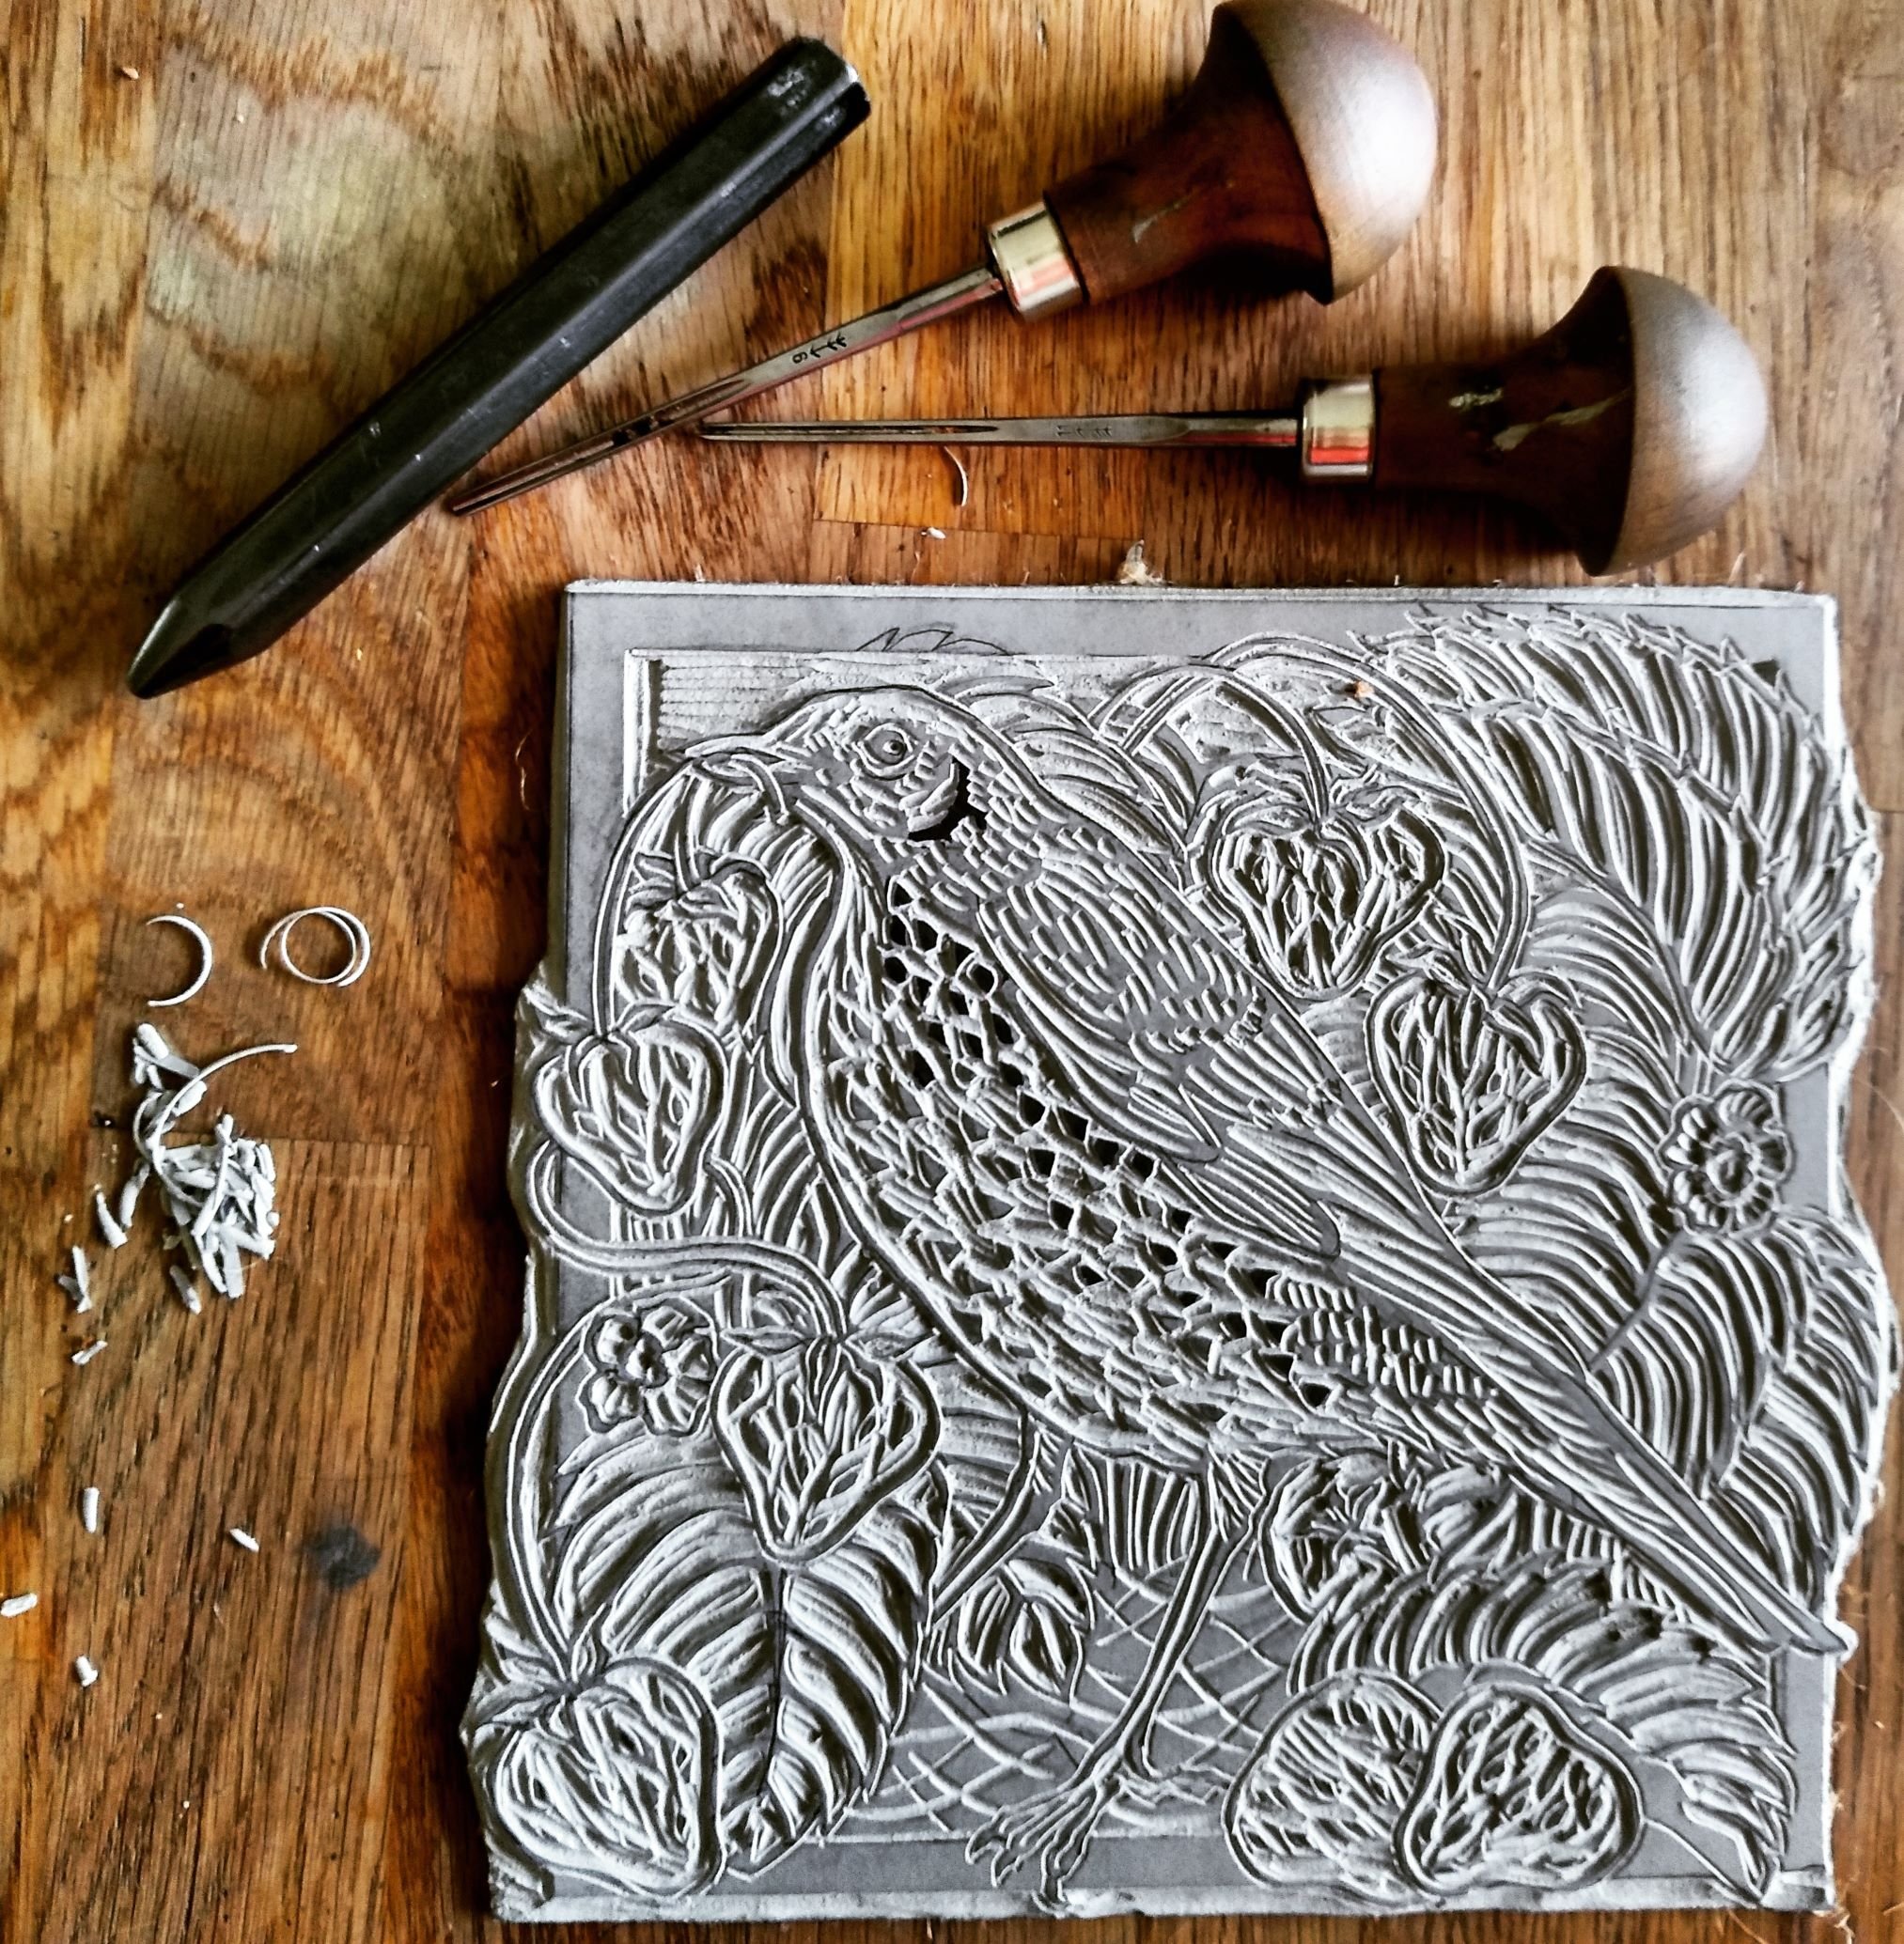
Most of my prints have been created using the relief printing method with linocut blocks.
I transfer my original drawing using tracing paper onto a lino block and use sharp linocut tools of various shapes and sizes to make interesting marks, add texture and to cut away the pieces I don't want.
I then ink up the block using oil based safe wash ink, place a sheet of printing paper over the top and put it through the roller of my press. My preferred paper for printing is 250gsm Fabriano Unica.
Creating Colour Using Multiple Plates
Sometimes the colours in my image are built up by printing several blocks one on top of the other to fill in colour. The final plate (the key plate), often with the darkest lines, like a drawing, is printed on top of the colours at the end of the process.
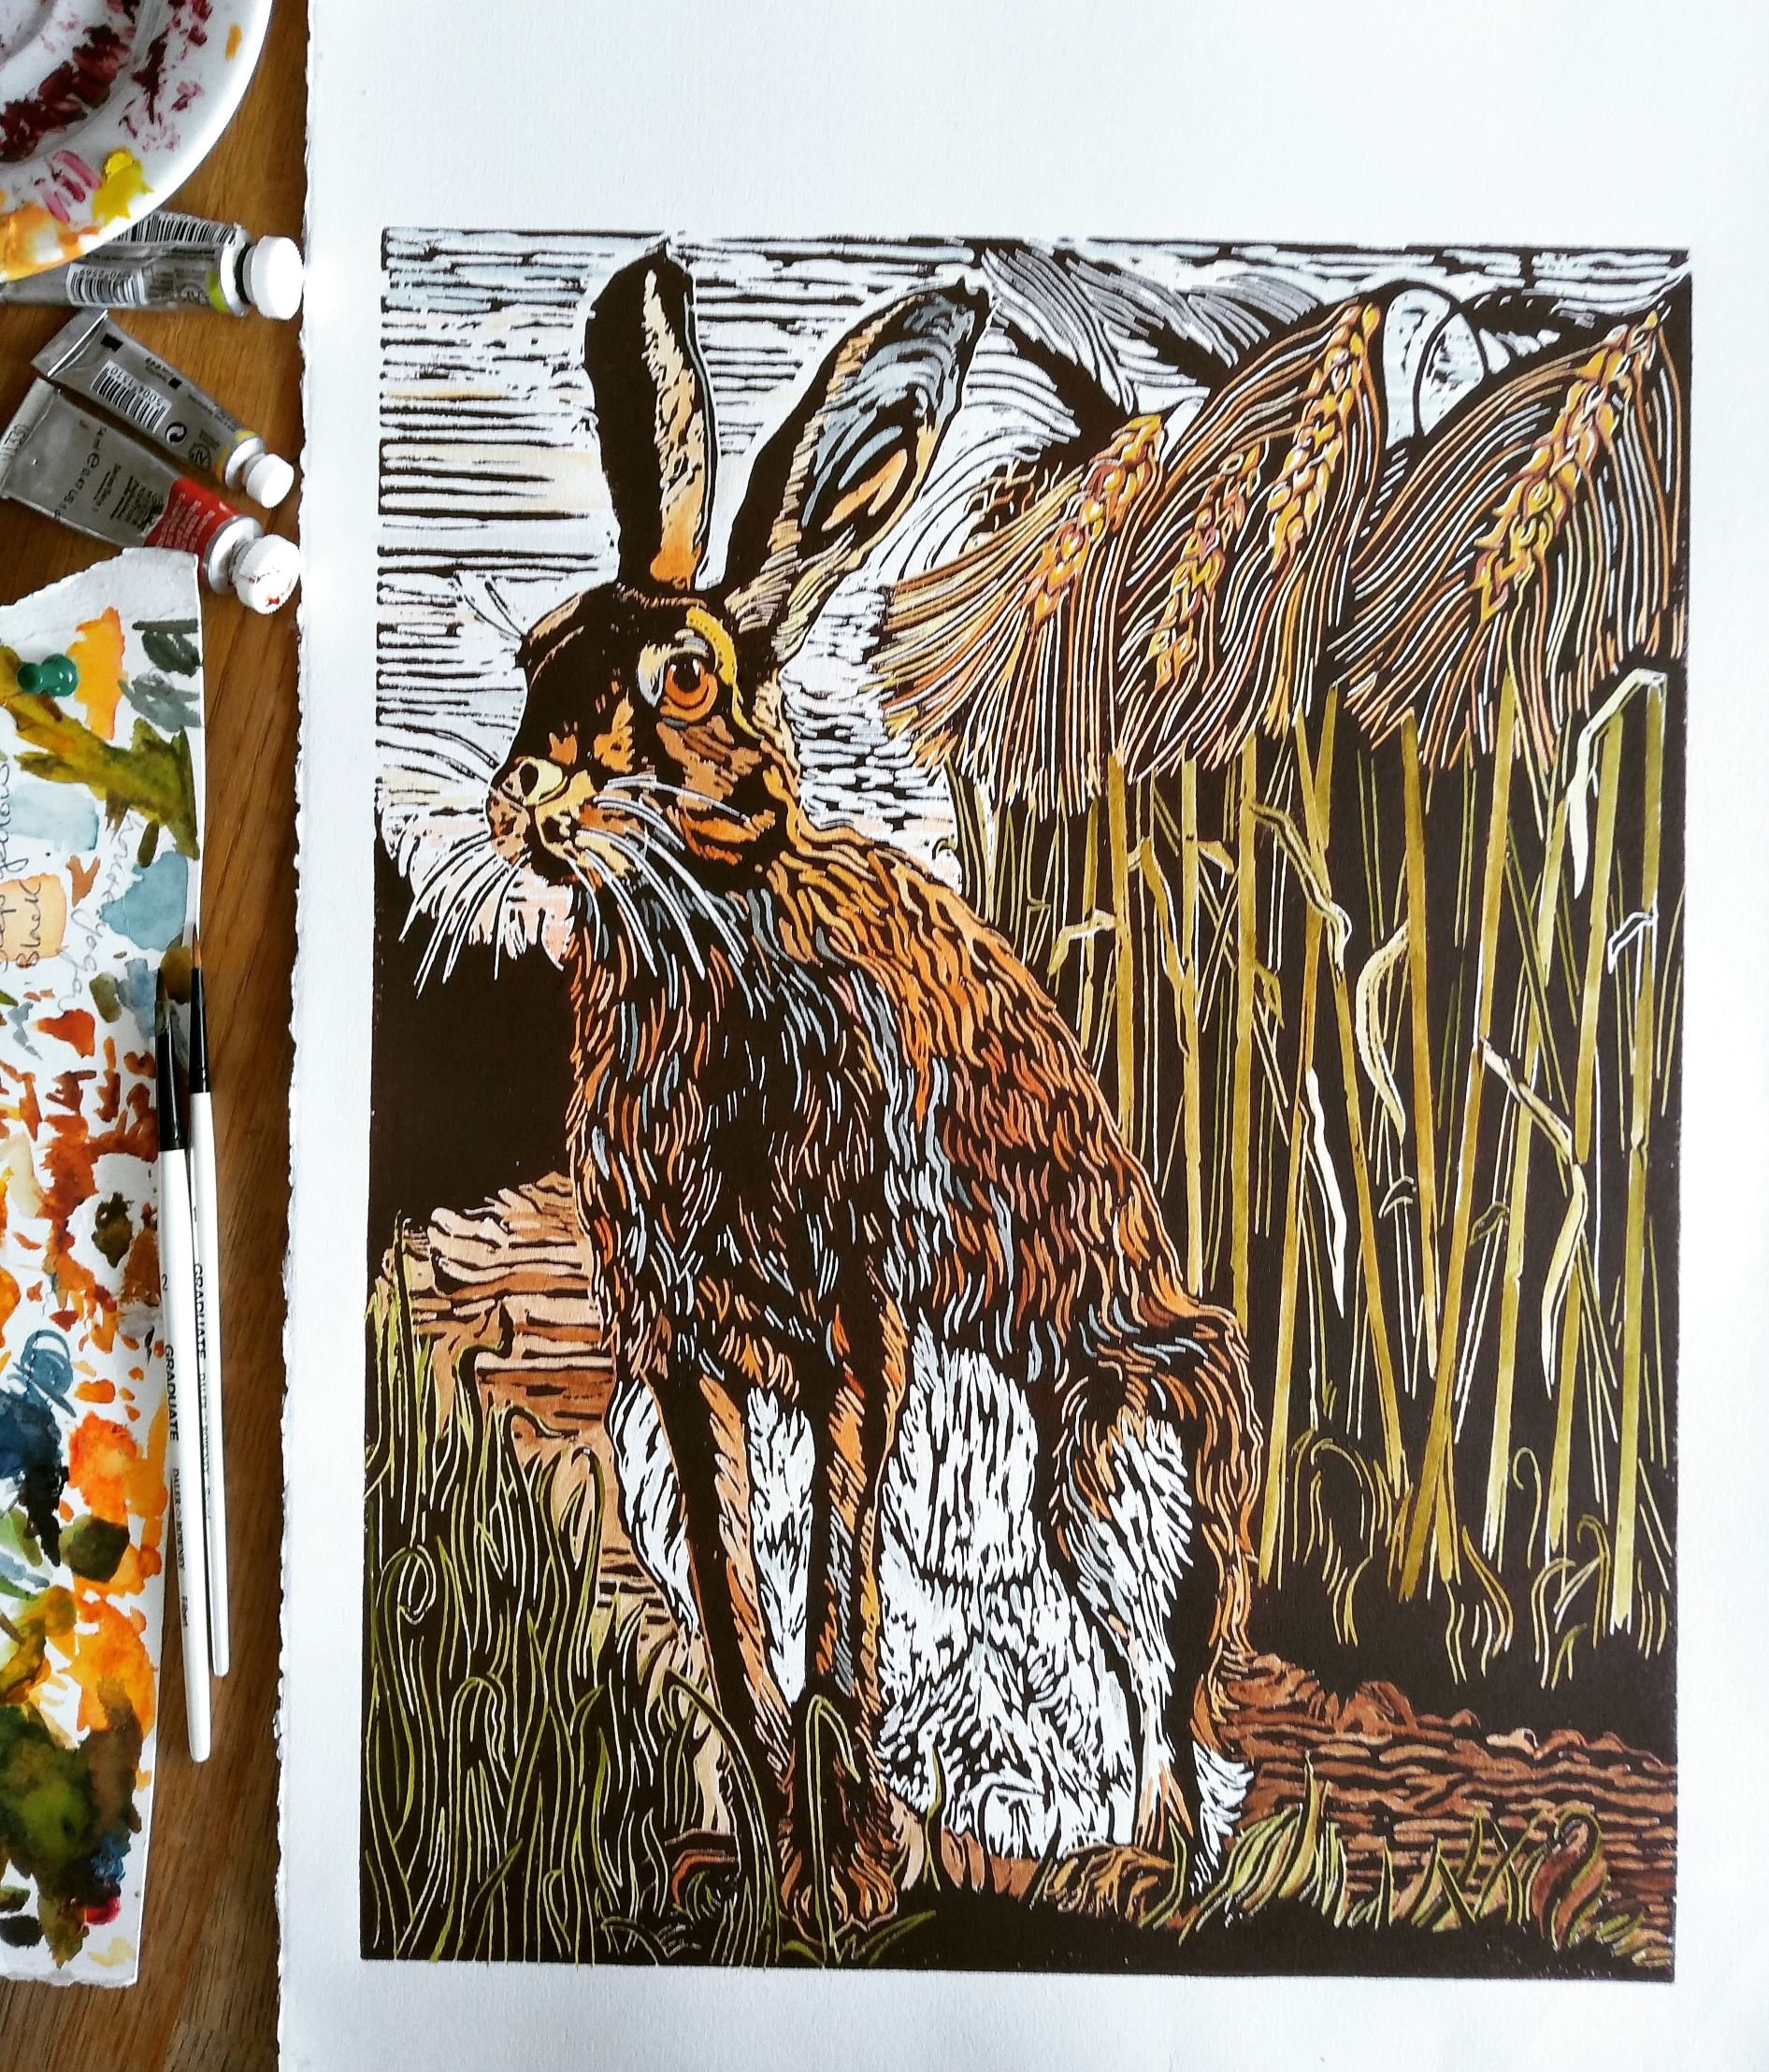
Hand Coloured Prints
Many of my prints are made by carving an initial key plate, printing it once using a dark colour and then each print is individually hand coloured using a brush and professional watercolour. I find I can get more variation of colour and tone using this method and I like the translucent quality of the paint. For this reason the colours in each print may vary slightly, although I do keep notes so that colours stay reasonably consistent across the edition.
Inking up the Hare plate
Peeling back the paper, revealing the hare print


